Blatser JR
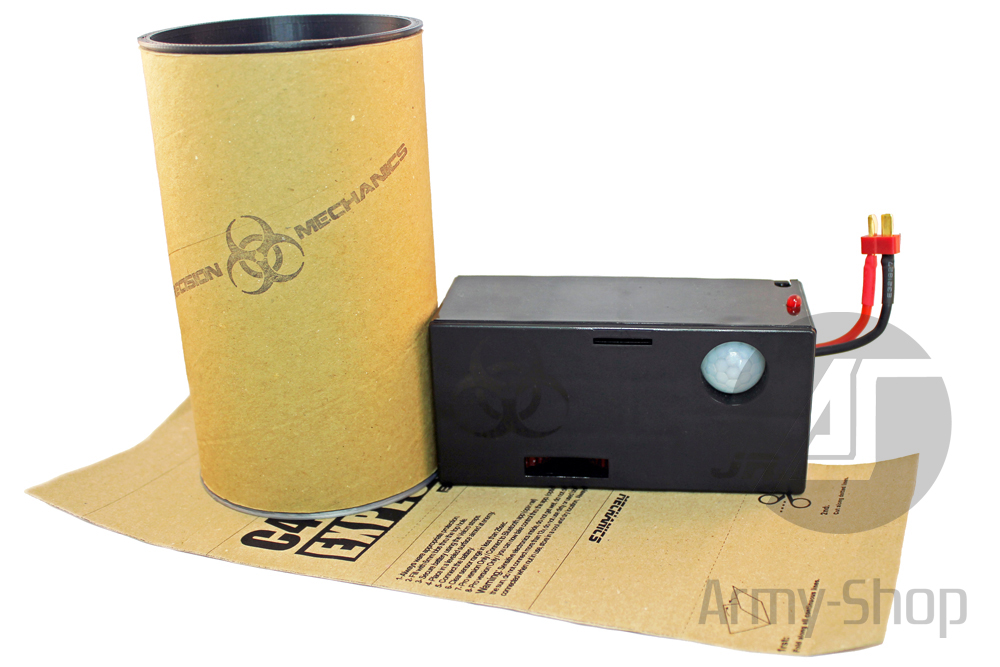
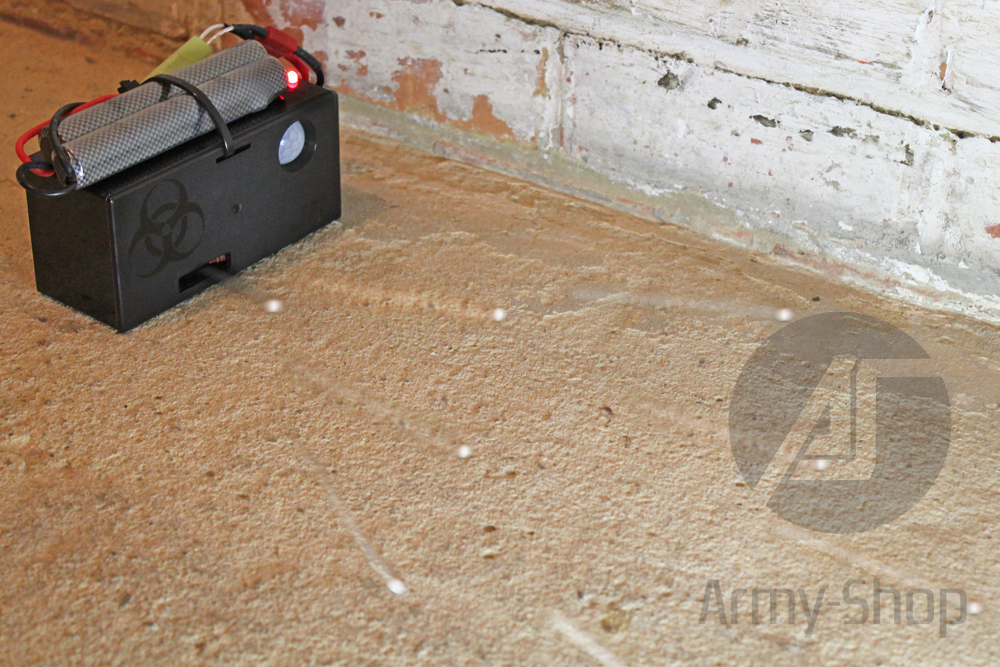
Trap your enemies by placing a Blaster JR with a movement detector.
Drop your Blaster in a strategic place, charge it with bb’s, plug in your battery, wait for the light to switch off and your Blaster will be ready to throw a cloud of bbs at the slightest movement.
With a solid nylon polymer design, it will be perfect for your indoor and outdoor games.
To throw balls at +- 5 meters, use only 6mm bb’s. No gas needed it runs on batteries in 2s lipo 7.2V recommended or nimh.
With a capacity of 50 bb's and a shot per load, it will take just 2 seconds to empty the charger, giving it a theoretical cadence of 1500 rounds per minute.
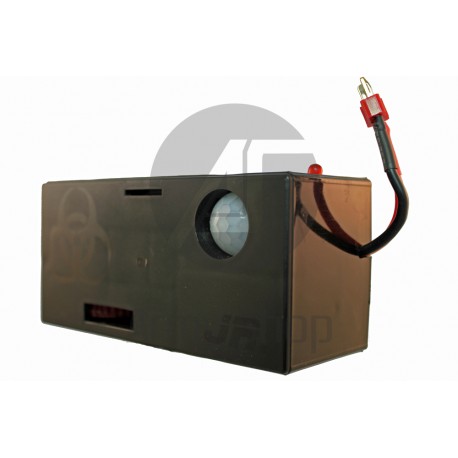
Small, it will go very easily in the pockets of your tactical vest. Only 5cm thick, 13 cm long and 6 cm high.
The kit includes : the Blaster JR, a paper cover, ziptie, instructions for use and a transport box.
1-Always use appropriate protection while handling airsoft products.
2-Optional use the craft paper as wrap in order to give a more realistic look.
3-Insert zip-tie through the unit using appropriate hole (# 3 in picture)
4-Secure the battery using the zip-tie. (7.2v lipo recommended for Blaster Jr) (11.1 lipo for Blaster Pro)
5-Fill the unit with good quality unused bbs through bbs loading hole (# 1 in picture) do not overfill.
Once you can see bbs at the hole the unit is full.
6-To deploy: rest the unit in a stable surface pointed at target area. Ex: door or hallway.
7-Connect the battery cable. The unit led (# 2 in picture) will start blinking after a couple of seconds. It will blink faster until
it goes out. You now have 25 second to leave the premises.
8-Pro only: During this time you can connect the unit with your phone app, initializing message will appear.
9-Pro only: If it is the first time using the unit you will need to pair the unit to your phone.
9.1-Download app from Google PlayStore. (P.Mechanics Airsoft Blaster)
9.2-Locate your blaster unit number and password(supplied with unit).
9.3-Go to Bluetooth settings select the blaster unit and pair device using provided password.
9.4-Open the app, give permission to access Bluetooth.
9.5-On top right corner drop-down menu press select device and select the blaster you wish to connect to.
(Multiple blasters can be used with the same phone)
9.6-In the drop-down menu select connect. In the top of the app the unit state will be displayed after connection established.
9.7-If pairing with phone has been done before there is no need to do it every time. Just turn on the unit open the app
and press connect.
10-After the LED goes out the unit will continuously scan the area in front of the sensor (# 4 in picture) and will deploy bbs through the exit hole (# 5 in picture)
11-Pro only: Once app shows armed you can now change between the following modes:
11.1-Leave in armed state: the unit will deploy once it detects movement and send alarm to the app informing system
was deployed. You can also press the deploy button to remotely deploy the unit.
11.2-Change to sentry mode: the unit will scan the area and notify if it senses movement but it will not fire.
You can press the deploy button to remotely deploy the unit.
11.3-Deactivate: the unit will stay idol until mode is changed. Very useful to pick up the unit and move it to other location.
12-After activation, Blaster Jr will fire all bbs in the chamber and change its state to idol. The LED will blink intermittent.
Pro only: The unit will use about 10% of bb capacity for each shot and it can be shot repeatedly.
ATTENTION: Always follow these best practices:
1-Never use without appropriate protection.
2-Always disconnect battery when not in use.
3-Do not expose to water there are sensible electronics inside.
4-Avoid dropping the unit there are sensible electronics inside.
5-Throwing wheels are resistant to a few hundred uses. Depending on bb quality the wheels may ware and need replacement.
6-Do not activate without bbs loaded as it will "over rev" the motors and cause premature ware of the throwing wheels.
7-Some bbs leave a white film on the throwing wheels same as they do in hop-up units, avoid using this type of bb if possible.
8-Avoid pointing the unit at a wall while moving behind it. Sensor readings can reflect off some walls and pick up movement
behind the unit falsely activating it.
9-Cleaver positioning is the best way to get excellent results. The sensor can pick um movement in a 130 degree angle.
Point at the place where player is most likely to be after movement is sensed.
10-Pro only: The Bluetooth password can not be changed to prevent unit theft. If you lose the password it will only be
provided against prof of ownership ex: buying invoice.
We strive for excellent costumer service. If you need any help whatsoever.
Please do not hesitate to contact us or your local dealer.


